A poorly managed litter box is not just an inconvenience; it is a primary source of physiological stress and bacterial exposure that directly triggers urinary diseases.
- Environmental factors like litter dust and poor box placement elevate cortisol, leading to Feline Idiopathic Cystitis (FIC).
- Saturated non-clumping litter acts as a bacterial culture, exposing your cat to ammonia and pathogens with every use.
Recommendation: Treat the litter box as a piece of preventative medical equipment. Implement a strict hygiene protocol and a high-moisture diet to dilute urine and reduce systemic stress.
As a cat owner, discovering an accident outside the litter box is more than frustrating; it’s a red flag. The immediate assumption is often a behavioral issue, leading to a cycle of cleaning and hoping. While common advice suggests adding more boxes or scooping more frequently, these are merely fragments of a much larger clinical picture. Many owners don’t realize that the problem is rarely spite or laziness on the cat’s part. It is often a symptom of underlying pain and disease directly linked to the box itself.
The connection between a dirty litter box and urinary tract infections (UTIs) is frequently understated. It’s not just about a cat’s preference for cleanliness. The true issue lies in a cascade of physiological and environmental factors that transform the litter box from a simple toilet into a source of chronic stress and a reservoir for pathogens. If the environment is suboptimal, the cat will hold its urine longer, leading to more concentrated urine—a primary risk factor for crystal formation and infections. This is a medical problem, not a behavioral one.
But what if the key wasn’t just scooping, but understanding the *science* behind the setup? This guide moves beyond generic tips to provide a clinical framework for litter box management. We will dissect how specific choices in scooping frequency, litter type, box placement, and even diet create a direct pathway to either urinary health or costly disease. By treating the litter box as a critical piece of preventative health equipment, you can systematically eliminate the root causes of many urinary issues and ensure your cat’s long-term well-being.
This article will provide a detailed protocol for every aspect of your cat’s urinary health management, from the litter box to the food bowl. Follow along to understand the clinical reasoning behind each recommendation and how to implement a truly preventative strategy.
Summary: A Clinical Guide to Feline Urinary Health and Litter Box Hygiene
- How Often Should You Scoop for 2 Cats in a Small Apartment?
- Clay vs. Silica vs. Pine: Which Is Safest for Asthmatic Cats?
- Where to Place the Litter Box to Avoid “Corner Trapping” Stress?
- The Error of Buying Non-Clumping Litter That Costs You More in Vet Bills
- How to Switch Litter Brands in 10 Days Without Accidents?
- Wet vs. Dry: How Much Water Does a Cat Need from Food?
- Disinfecting Carpeted Trees: How to Remove Ringworm Spores?
- Why Wet Food Is Superior to Dry for Preventing Male Cat Blockages?
How Often Should You Scoop for 2 Cats in a Small Apartment?
In a multi-cat household, especially within the confines of a small apartment, litter box scooping frequency transitions from a cleaning chore to a critical health parameter. Odor control is a symptom; the underlying goal is minimizing the bacterial load and ensuring each cat finds a clean space to eliminate. When a box is saturated, cats may hold their urine, increasing its concentration and the risk of crystal formation. For two cats, the waste accumulation is exponential, making daily scooping insufficient. The clinical standard must be higher.
To maintain a healthy environment, scooping should occur at least twice daily. This isn’t arbitrary; it’s based on the rate of bacterial proliferation in urine and feces. A poll of over 2,600 cat owners revealed that 65% of cat owners scoop multiple times daily, establishing a clear best practice. The “n+1” rule for litter boxes—meaning three boxes for two cats—is non-negotiable in an apartment setting. This provides choice and reduces resource competition, a significant source of stress that can trigger urinary issues.
A strict, non-negotiable schedule is the key to compliance. Here is the minimum viable protocol for a two-cat apartment:
- Scoop Twice Daily: Once in the morning and once in the evening. Set phone alarms as reminders. This is the most effective way to control ammonia and bacterial growth.
- Provide Three Boxes: Follow the n+1 rule to prevent territorial stress and ensure a clean option is always available.
- Deep Clean Weekly: Empty all litter, wash each box with mild, unscented soap and hot water, and dry completely before refilling. Harsh chemicals can leave a residue that deters cats.
- Complete Litter Replacement: For multiple cats, the entire volume of litter in each box should be replaced at least every two weeks, or monthly at a minimum, even with daily scooping.
Clay vs. Silica vs. Pine: Which Is Safest for Asthmatic Cats?
For any cat, but especially one with respiratory sensitivities like asthma, litter is not just a substrate; it’s an aerosolized environment. The dust from clay-based litters, composed of fine particulate matter, can be inhaled deep into the lungs, triggering inflammation and asthmatic attacks. The choice of litter, therefore, becomes a primary tool for managing respiratory health. However, the danger isn’t limited to the lungs. This airborne dust initiates a systemic stress response that affects the entire body.
As detailed in veterinary studies, the respiratory distress from inhaled dust increases the body’s production of cortisol, a primary stress hormone. Elevated cortisol is a well-documented trigger for Feline Idiopathic Cystitis (FIC), a common and painful inflammatory condition of the bladder. The link is direct: poor air quality around the litter box leads to systemic stress, which in turn manifests as urinary disease. Choosing a low-dust litter is therefore a critical intervention for both respiratory and urinary health. The following table breaks down the risks associated with common litter types.
| Litter Type | Dust Level | PM2.5 Risk | Respiratory Impact | Best For |
|---|---|---|---|---|
| Clay (Clumping) | High | Heavy particles settle quickly | Moderate risk | Cats without respiratory issues |
| Silica Gel | Medium | Fine particles stay airborne | High risk for asthmatics | Low-tracking needs |
| Pine/Wood | Low-Medium | Natural dust varies by brand | Low risk if kiln-dried | Sensitive cats with proper storage |
Based on this data, a high-quality, kiln-dried pine or wood-based litter is often the safest initial choice for an asthmatic cat, provided it is stored correctly to prevent mold. Some paper-based or corn/wheat litters also offer very low dust levels. The goal is to eliminate airborne particulates at the source, thereby reducing the physiological stress that contributes to urinary inflammation.
Where to Place the Litter Box to Avoid “Corner Trapping” Stress?
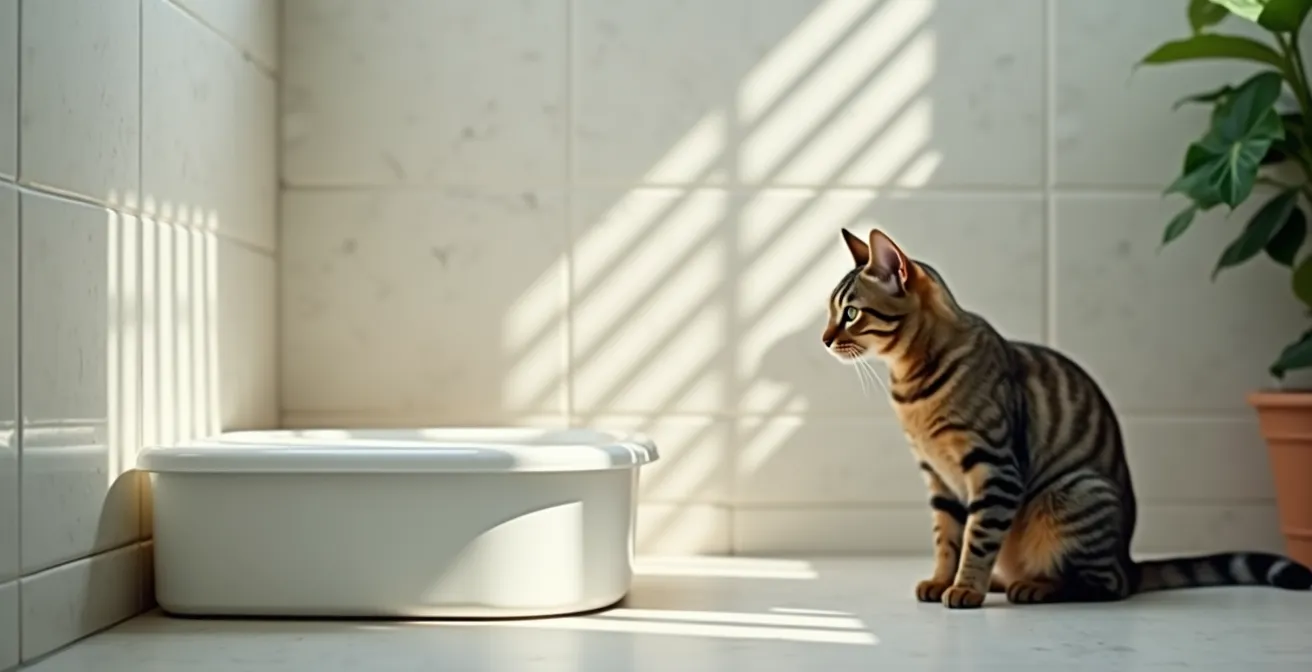
Litter box placement is often dictated by human convenience—tucked away in a laundry room or a tight bathroom corner. From a feline perspective, this is a strategic error. A cat’s instinct is governed by the “prospect-refuge” theory: they need to feel safe and protected (refuge) while simultaneously having a clear view of their surroundings and multiple escape routes (prospect). A box placed in a dead-end corner or a noisy, high-traffic area creates “corner trapping” stress. The cat feels vulnerable, unable to see an approaching threat (another pet, a person, a loud appliance starting up) and without an easy exit.
This feeling of being trapped can lead to litter box avoidance. If a cat has even one negative experience in the box, it may associate that location with fear and seek out other, safer-feeling places to eliminate. The ideal placement balances privacy with security. The cat should be able to see the main approaches to the room but not be in the direct line of foot traffic. Its back should be against a solid wall, but the front and sides must be clear for a quick escape.
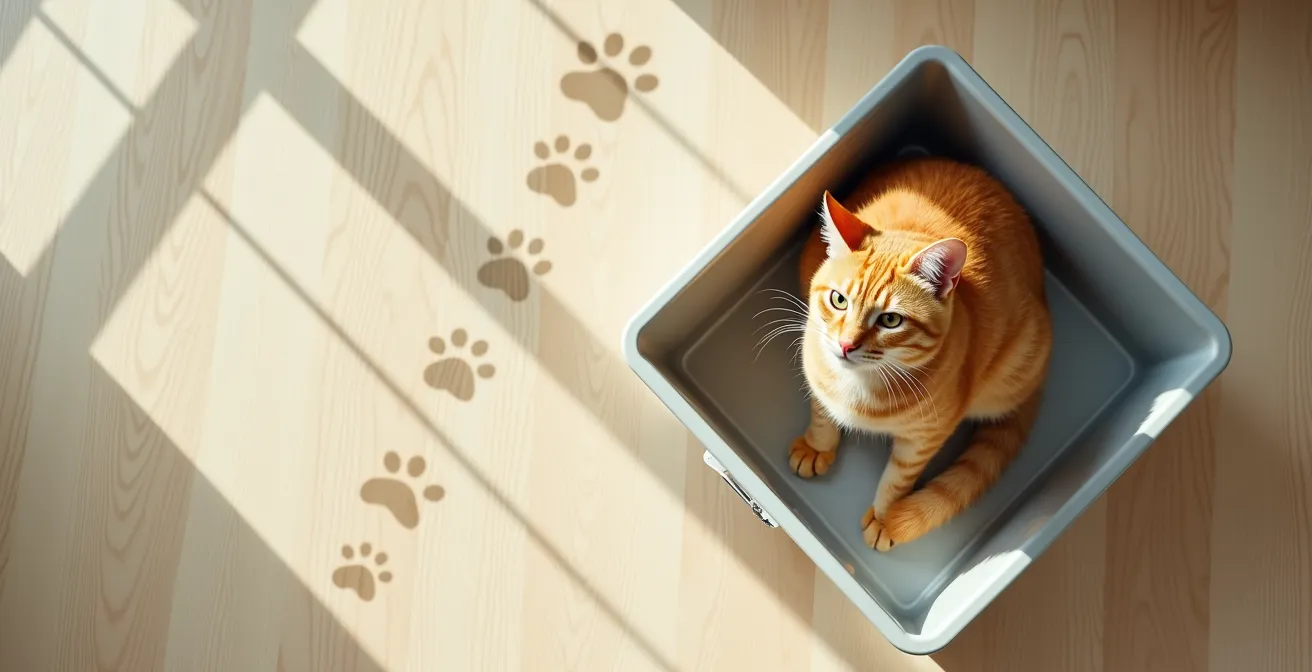
As the overhead view demonstrates, strategic placement in a corner can work, but only if it’s angled to provide clear lines of sight and escape. The following guidelines are critical for reducing placement-related stress:
- Place the box in a location where the cat has a clear view of the room’s entrance.
- Ensure the back of the box is against a wall for security, but that there are at least two escape routes.
- Keep litter boxes at least three feet away from noisy appliances and food/water stations.
- Choose a low-traffic area to minimize startling encounters.
The Error of Buying Non-Clumping Litter That Costs You More in Vet Bills
Choosing non-clumping clay litter is a false economy. While the initial purchase price may be lower, it creates a chronically unsanitary environment that directly contributes to health issues, leading to significant veterinary expenses. The fundamental flaw of non-clumping litter is its inability to fully remove liquid waste. While solid waste can be scooped, urine saturates the litter particles and sinks to the bottom, where it stays. This creates what is essentially a permanent, ammonia-producing bacterial culture at the bottom of the box.
Dr. Pippa Elliott, a veterinarian, explains this critical issue with clinical precision. Her insight reveals the hidden danger lurking in a seemingly clean box:
Non-clumping litter becomes saturated, and even after scooping solids, a reservoir of urine remains at the bottom. This creates a permanent ammonia-producing bacterial culture that the cat is exposed to with every visit.
– Dr. Pippa Elliott, BVMS, MRCVS, Petful Veterinary Health Content
Every time the cat digs, it re-aerosolizes these bacteria and ammonia fumes, leading to chronic irritation of the urinary tract and respiratory system. This constant exposure is a leading cause of UTIs and cystitis. The cost of treating these conditions far outweighs any savings on litter. A year-long comparison study confirms this, showing that clumping litter users not only spent 40% less on litter over time (due to only removing clumps instead of the whole box contents) but also experienced 60% fewer UTI-related vet visits. When a single UTI visit can cost between $300 and $500, with emergency blockages rising to $1,500-$3,000, the financial argument for effective clumping litter is undeniable.
Your 5-Point Litter System Health Audit
- Substrate Analysis: Are you using a hard-clumping litter that allows for 100% removal of urine, or a non-clumping litter that harbors a bacterial reservoir?
- Hygiene Protocol: Are you scooping a minimum of twice daily and performing a complete litter change and box disinfection at least every two weeks?
- Placement Security: Does each litter box offer both refuge (a protected back) and prospect (clear lines of sight and multiple escape routes)?
- Resource Count: Do you meet the N+1 rule (one box per cat, plus one extra) to minimize competition and ensure a clean option is always available?
- Dietary Hydration: Is your cat’s diet primarily composed of high-moisture wet food (≥75% moisture) to ensure constant urine dilution?
How to Switch Litter Brands in 10 Days Without Accidents?
Cats are neophobic creatures, meaning they are inherently suspicious of new things in their environment. This is especially true for something as personal and texturally specific as their litter. A sudden switch from a familiar sandy clay to a novel pine pellet or silica crystal can be jarring. The cat may not recognize the new substrate as a legitimate place to eliminate, leading to accidents. The resistance is often due to textural sensitivity in their paw pads.
A cat’s paws are highly sensitive organs, and the feel of the litter is a major part of their experience. An abrupt change can be unpleasant or even painful, causing them to reject the box entirely. The goal of a transition is to gradually acclimate the cat to the new scent and texture, allowing them to accept it at their own pace. A slow, methodical approach is essential to avoid creating a negative association with the litter box.
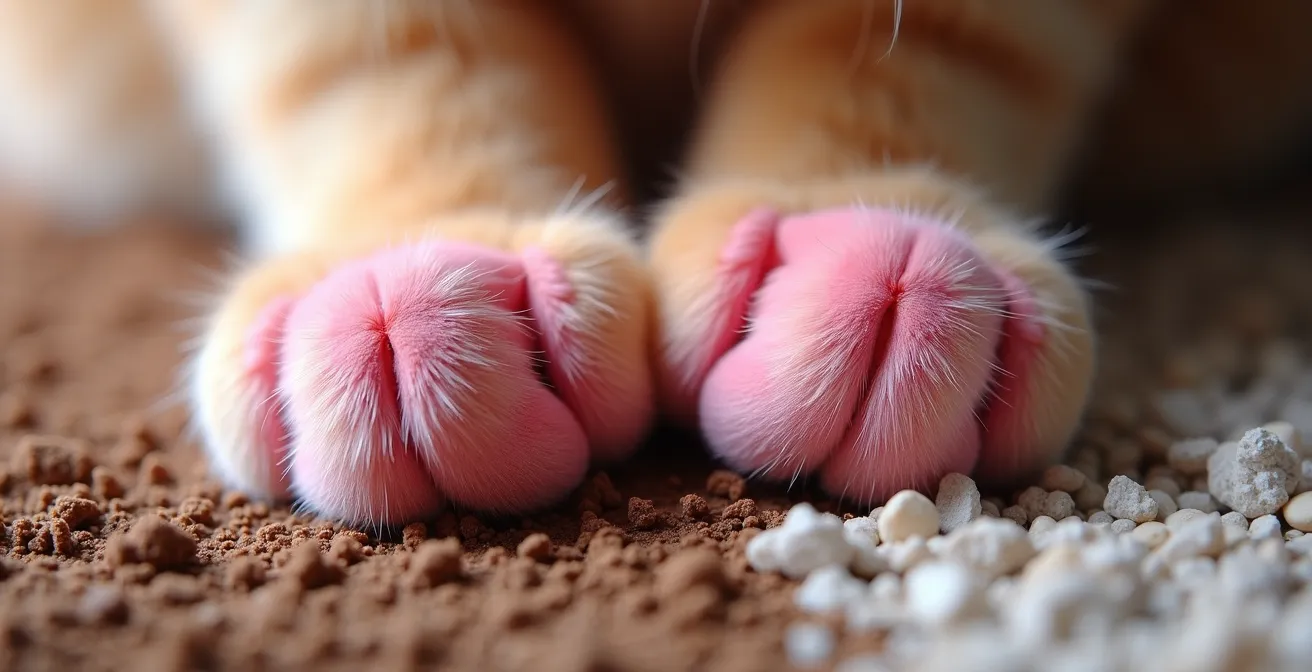
The visual above highlights the extreme difference in texture a cat might experience. To manage this sensitivity and ensure a successful switch without accidents, a 10-day protocol is the clinical standard. This gradual mixing process allows the cat to adjust slowly. For particularly sensitive cats, an alternative method is to place a new box with the new litter next to the old one, allowing the cat to choose and transition on its own timeline.
- Day 1-2: Mix 75% old litter with 25% new litter.
- Day 3-4: Adjust the mixture to a 50/50 ratio.
- Day 5-6: Shift the balance to 25% old and 75% new litter.
- Day 7-8: Continue with the 75% new litter mixture to reinforce acceptance.
- Day 9-10: Complete the transition to 100% new litter. Throughout this process, maintain immaculate scooping hygiene.
Wet vs. Dry: How Much Water Does a Cat Need from Food?
While litter box management is a cornerstone of urinary health, it is only one half of the equation. The other, arguably more powerful, factor is diet. Cats have a naturally low thirst drive, having evolved from desert-dwelling ancestors who derived most of their hydration from their prey. This evolutionary trait persists in domestic cats, meaning they do not reliably drink enough water to compensate for a dry diet. The most effective way to ensure adequate hydration is through their food.
The difference in moisture content between wet and dry food is stark. According to veterinary nutrition experts, dry food contains approximately 10% moisture, whereas wet food contains around 80%. A cat on a dry-food-only diet is in a state of chronic, low-level dehydration. This results in highly concentrated urine, which is the perfect environment for struvite and calcium oxalate crystals to form, leading to inflammation, pain, and life-threatening blockages.
The impact of diet on urinary health is not theoretical. A landmark study from Cornell University’s Feline Health Center provided definitive evidence. The research found that cats fed a diet consisting primarily of wet food had significantly lower rates of urinary diseases compared to those on a dry-food-only diet. The mechanism is simple: the high moisture content of wet food leads to more frequent urination of more dilute urine. This constant flushing of the bladder effectively reduces crystal concentration by as much as 70%, physically preventing the precursors to urinary stones from gaining a foothold.
Disinfecting Carpeted Trees: How to Remove Ringworm Spores?
The principles of hygiene must extend beyond the litter box to every surface the cat touches. The litter box often acts as the epicentre of contamination, from which bacteria and fungal spores are tracked throughout the home. As veterinarian Dr. Justine Lee states, the box is “ground zero.”
The litter box acts as ‘ground zero’ for contaminants. Bacteria like E. coli and fungal spores are tracked from the box throughout the house via paws and fur.
– Dr. Justine Lee, DVM, DACVECC, Litter-Robot Veterinary Blog
Porous, carpeted surfaces like cat trees are particularly effective at trapping these contaminants, including stubborn ringworm (dermatophyte) spores. A simple vacuuming is not enough to eliminate a fungal problem. A rigorous, multi-step disinfection protocol is required to eradicate spores and prevent reinfection. It is crucial to use only pet-safe cleaners, as products containing phenols (like many traditional disinfectants) are toxic to cats.
The following protocol outlines the necessary steps for safely and effectively disinfecting carpeted cat furniture to eliminate fungal spores:
- Thorough Vacuuming: Use a vacuum with a HEPA filter to remove as many loose hairs and spores as possible from all surfaces. Dispose of the vacuum bag immediately afterward.
- Enzymatic Cleaner Application: Apply a pet-safe enzymatic cleaner designed to break down organic matter. Avoid concentrated bleach or phenol-based products.
- Steam Cleaning: Use a steam cleaner to treat all carpeted areas. The steam must reach a minimum temperature of 140°F (60°C) to effectively kill fungal spores.
- Complete Drying: Allow the cat tree to dry completely for 24-48 hours. Using fans can speed up this process. A damp environment encourages mold and mildew growth.
- Natural Disinfection: If possible, place the cat tree in direct sunlight for several hours. The UV-C rays in sunlight are a natural disinfectant that can help kill remaining spores.
Key Takeaways
- The litter box is a preventative health tool; its mismanagement directly causes stress and bacterial exposure leading to urinary disease.
- Systemic stress from the environment (litter dust, poor placement) is as dangerous as bacteria, triggering inflammatory conditions like FIC.
- Urine dilution through a high-moisture wet food diet is the most powerful single measure to prevent crystal formation and urinary blockages.
Why Wet Food Is Superior to Dry for Preventing Male Cat Blockages?
While all cats benefit from a high-moisture diet, it is a matter of life and death for male cats. Due to their long and narrow urethra, male cats are anatomically predisposed to urethral obstructions, or “blockages.” This is a true medical emergency. When a blockage occurs, the cat cannot pass urine, causing toxins to build up in the bloodstream and putting immense pressure on the kidneys and bladder. According to veterinary emergency data, it can take as little as 24-48 hours from the onset of a blockage for irreversible kidney failure or death to occur. Prevention is not just ideal; it is essential.
The single most effective preventative strategy is ensuring the urine remains as dilute as possible. This is where wet food is unequivocally superior to dry food. The consistent, high-moisture intake from wet food works on multiple fronts to lower the risk of blockage, as detailed in the comparison below.
| Factor | Dry Food | Wet Food | Impact on Blockage Risk |
|---|---|---|---|
| Urine Concentration | Highly concentrated | Diluted | 70% lower crystal formation with wet |
| Daily Water Intake | Relies on drinking | 80% from food | Consistent hydration reduces risk |
| Urine pH Control | Variable | More stable | Stable pH prevents struvite crystals |
| Mineral Density | High per volume | Diluted | Less mineral saturation in bladder |
A diet based on dry food forces the cat’s system to work with highly concentrated urine, dense with the minerals that form crystals. Wet food does the opposite, creating a constant flow of dilute urine that flushes the system, keeps the pH stable, and prevents mineral saturation. When combined with a meticulously maintained litter box environment that encourages frequent urination, a wet food diet creates a powerful, multi-layered defense against this deadly condition.
To protect your cat from painful and costly urinary disease, you must adopt a holistic hygiene protocol. This involves implementing a strict scooping and cleaning schedule, choosing a low-dust clumping litter, placing boxes strategically for security, and, most importantly, transitioning to a high-moisture wet food diet. Begin today by auditing your current setup and making these critical adjustments.